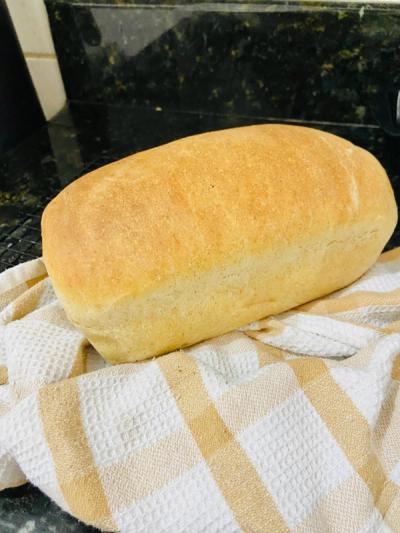
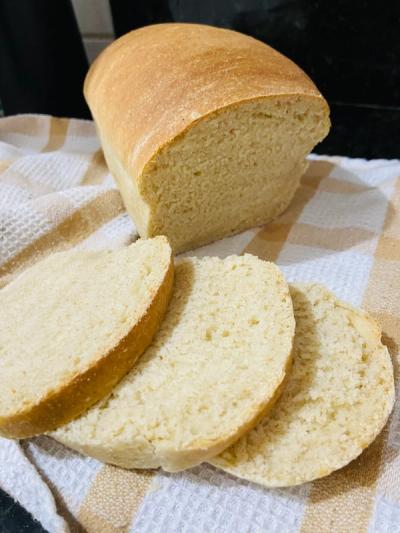
Slightly Whole Wheat Sourdough Sandwich Bread

Elevate the flavor, texture, and aroma of your everyday bread.
This recipe is by far the one I make the most here at home.
I always double it to make sure I already have a loaf ready in case the following week isn't very organized, or meals need to be quicker and more practical (sandwiches) on some day of the week.
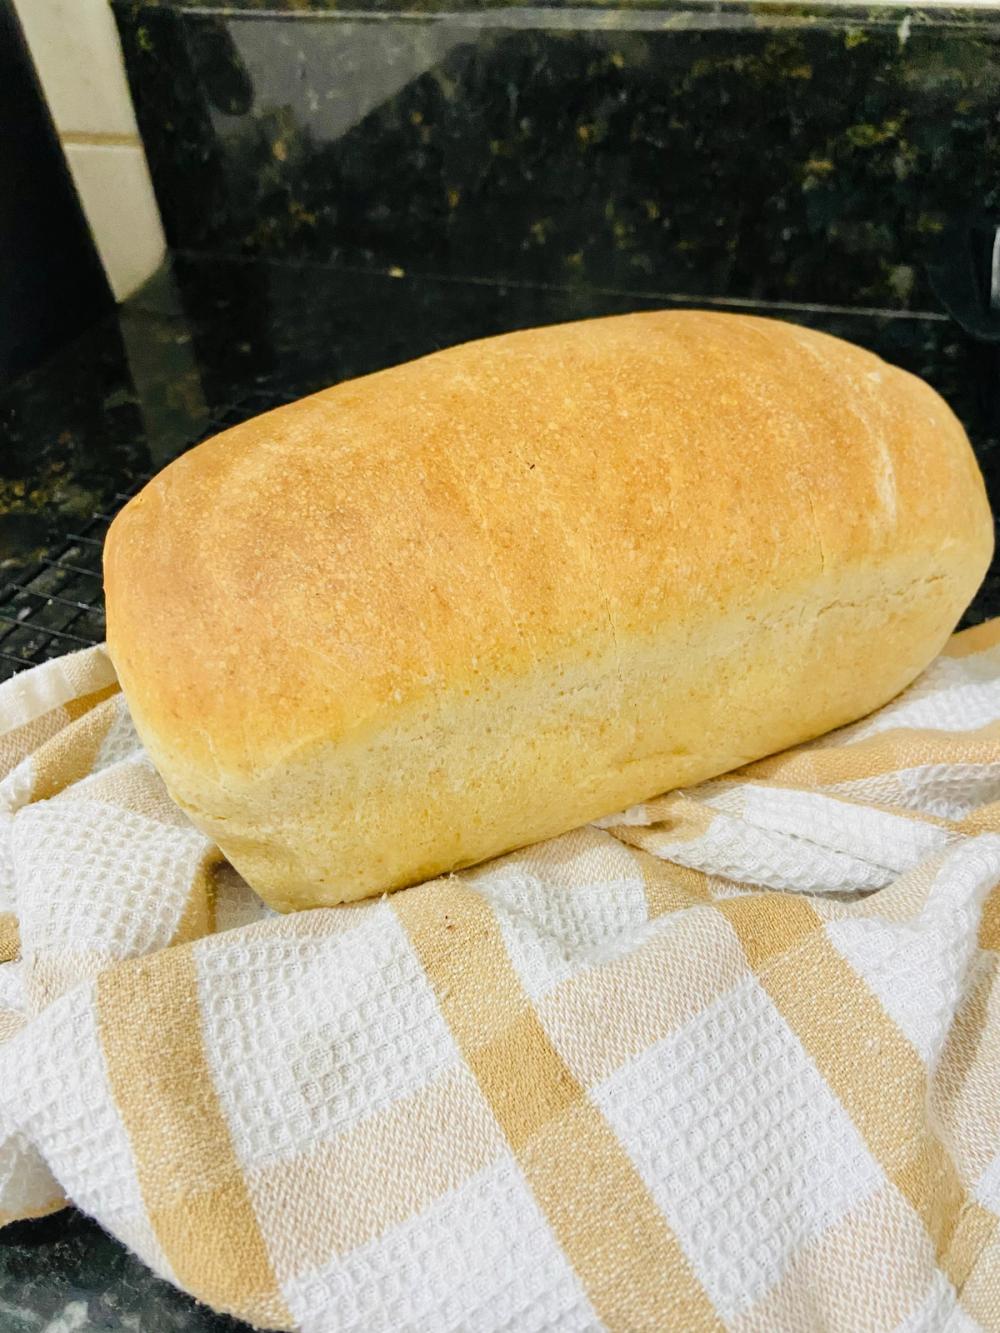
But forget that memory of ultra-processed bread we grab at the store when life is too busy to make bread.
This one has no preservatives, so it won't last months in your pantry; it has quality ingredients that you chose yourself when making it, no artificial flavoring, no chemical taste (which you only notice after eating homemade bread and then going back to eating the “packaged” kind).
We'll combine sourdough starter, active or not — most of the time I use it straight out of the fridge — with a tiny amount of active dry yeast.
What does that change? The time it takes to rise. Active starter: a few hours. Discard straight from the fridge, not fed: it'll take longer to rise, but it will rise.
This way the fermentation is still fairly long, but not too long, and we get a soft, healthy bread that had enough time to rest and won't leave us bloated or with poor digestion.
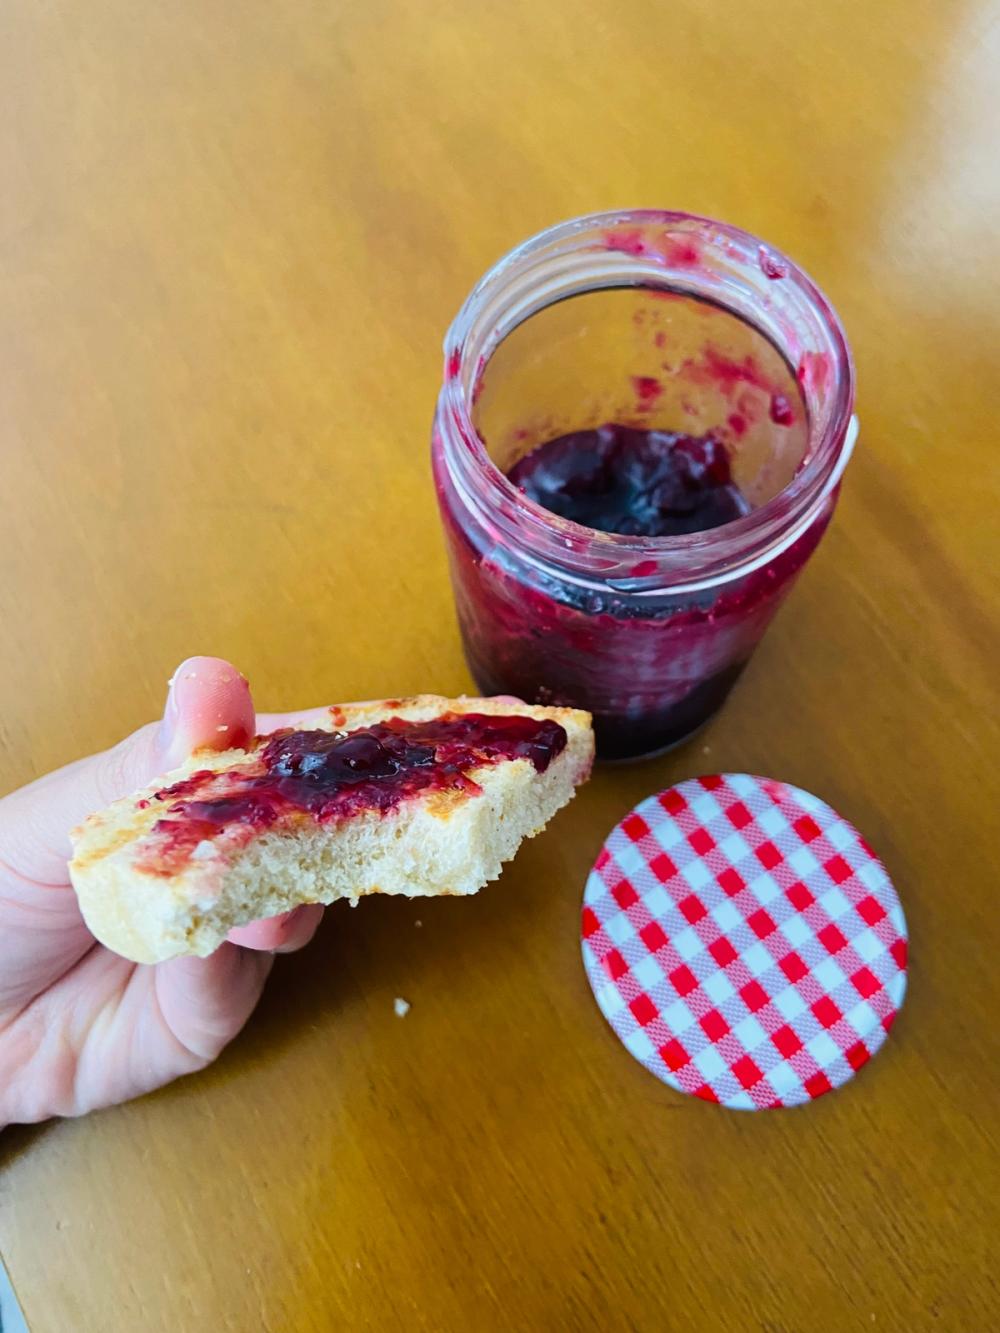
I like to add 1/2 cup of whole wheat flour, sometimes more, just so the bread isn't completely white and is a bit more nutritious.
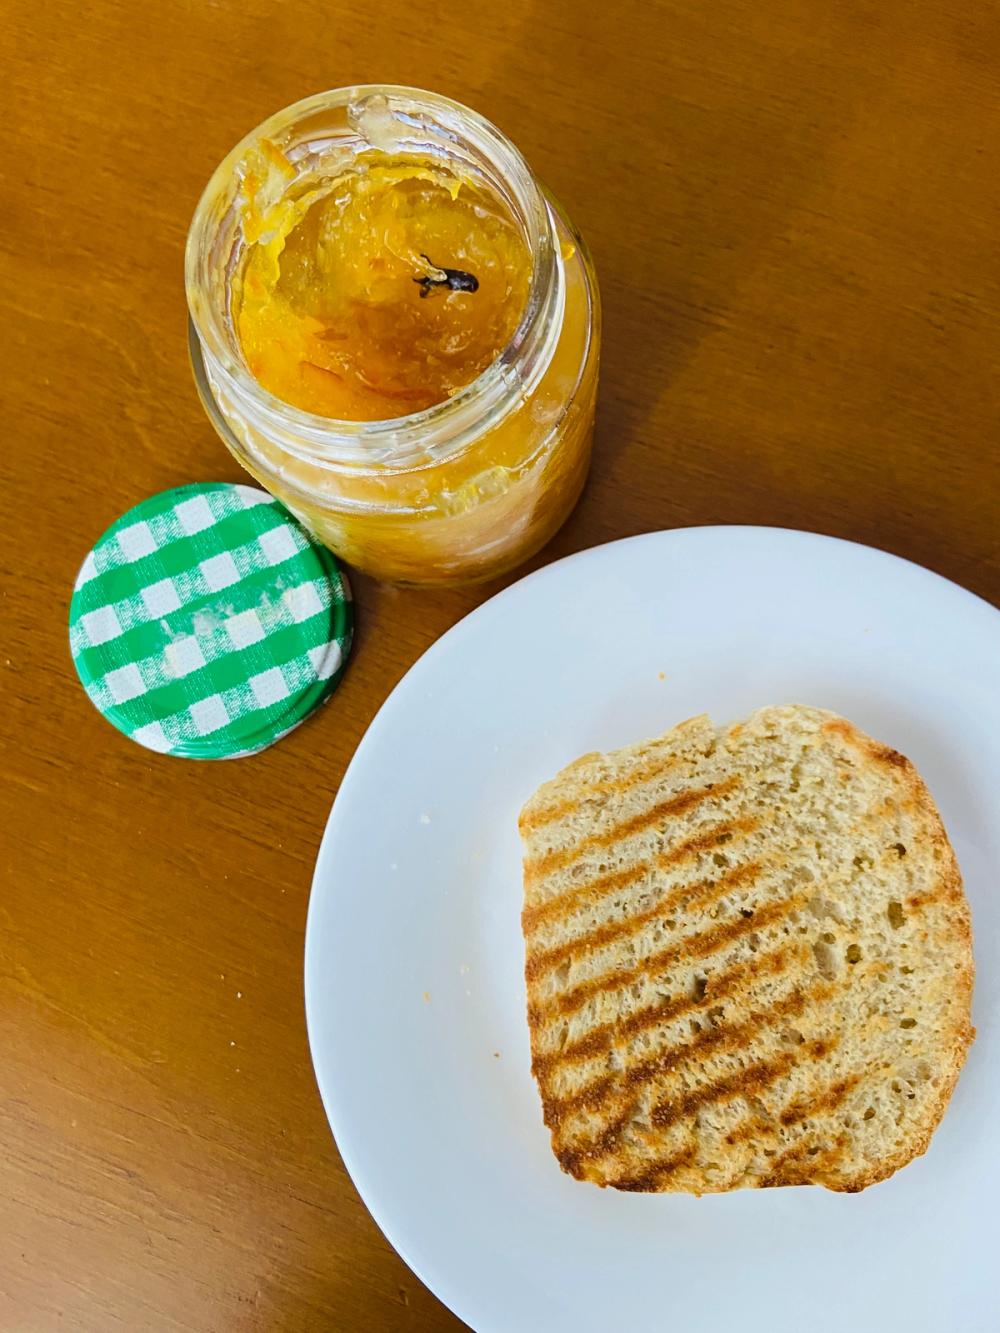
The versatility of this bread is why I always keep it at home: grilled cheese, toast with jam, fresh with jam or butter, toasted with eggs, perfect for French toast, cold sandwiches, and so on.
Ingredients
- 3 cups all-purpose flour
- 1/2 cup whole wheat flour
- 1/4 cup demerara sugar
- 2 tablespoons butter
- 1 teaspoon salt
- 1 cup water, room temperature
- 1 egg
- 1/2 cup sourdough starter, active or not
- 1/2 teaspoon active dry yeast
Method
- 1
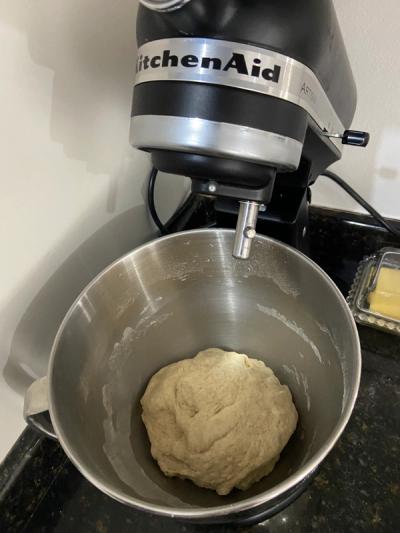
Add all the ingredients to the stand mixer and mix/knead until the dough pulls away from the bowl. Or mix in a bowl and knead by hand on the counter until it doesn't stick to your hands or the counter.
- 2
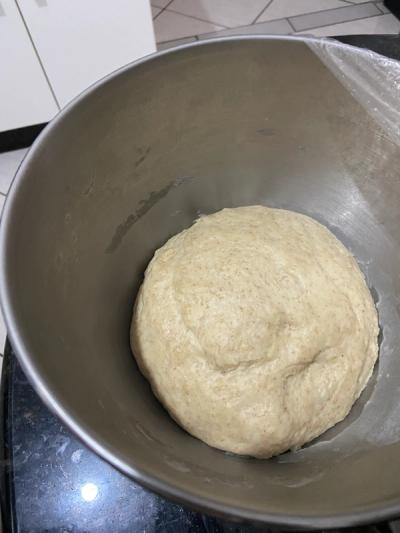
Cover and let it rest until it doubles in size.
- 3
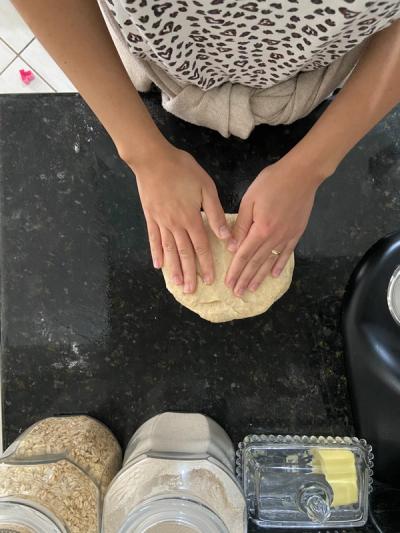
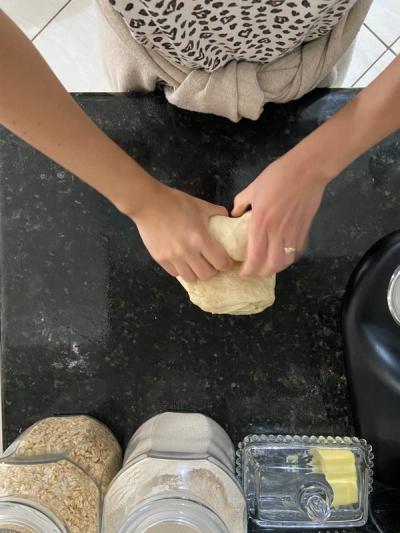
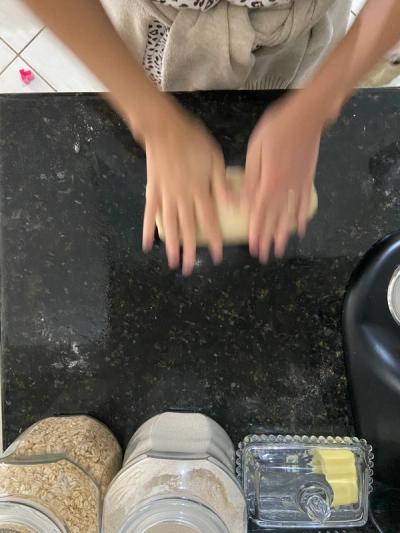
After it has fermented/risen, remove it from the bowl and shape it to fit the pan (don't forget to grease it very well or use parchment paper if you don't have a silicone pan).
- 4
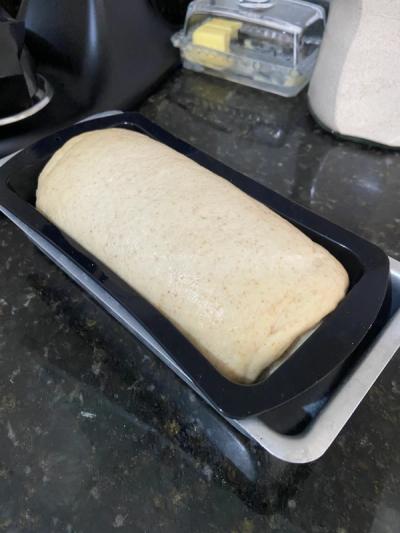
Cover and let it rest again until it rises and fills the whole pan while the oven heats to 350°F (180°C).
- 5
Bake for about 30 minutes, or until golden and the whole house smells amazing. Let it cool on a wire rack so the bottom doesn't get soggy from steam. But if you're using an aluminum pan, wait about 10 minutes before trying to unmold it so it doesn't break.