How to Create Your Own Sourdough Starter
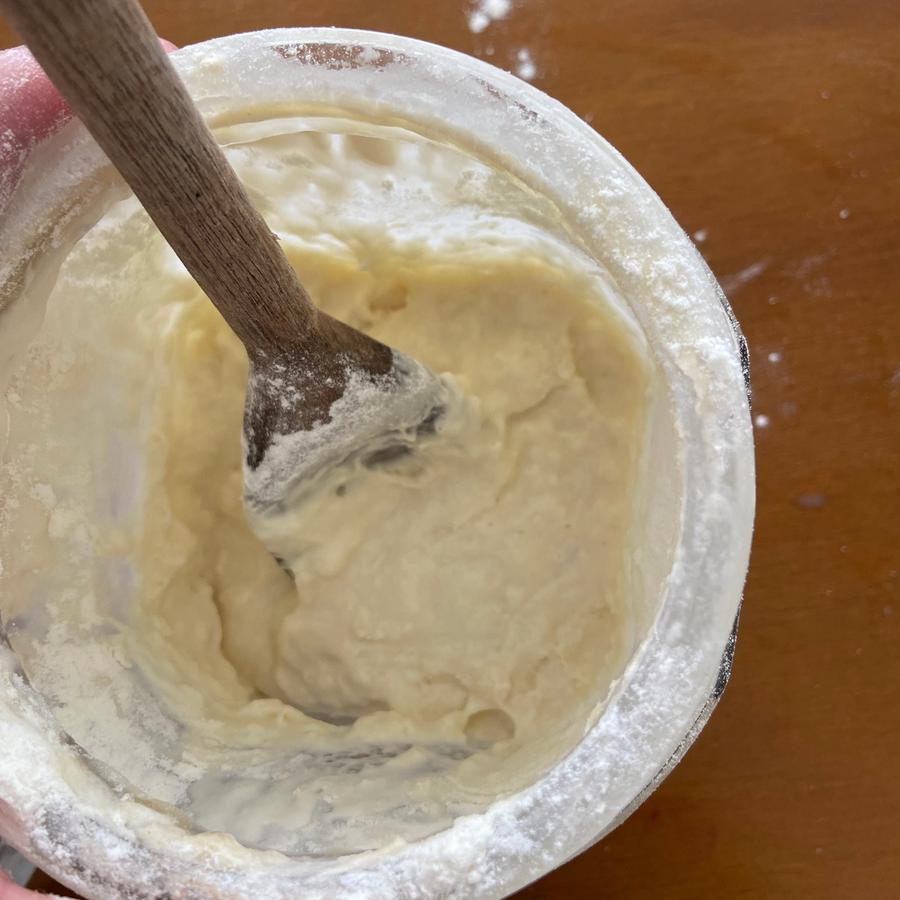
Step-by-step guide to making your own sourdough starter at home.
I put off making my own starter for a long time, thinking it was too complicated for me — that I didn't have enough baking knowledge to handle it, and that it wouldn't work out.
I believe that's the reality for a lot of people — thinking it's some huge ordeal, that they won't manage to keep the starter alive because they don't want to babysit bacteria.
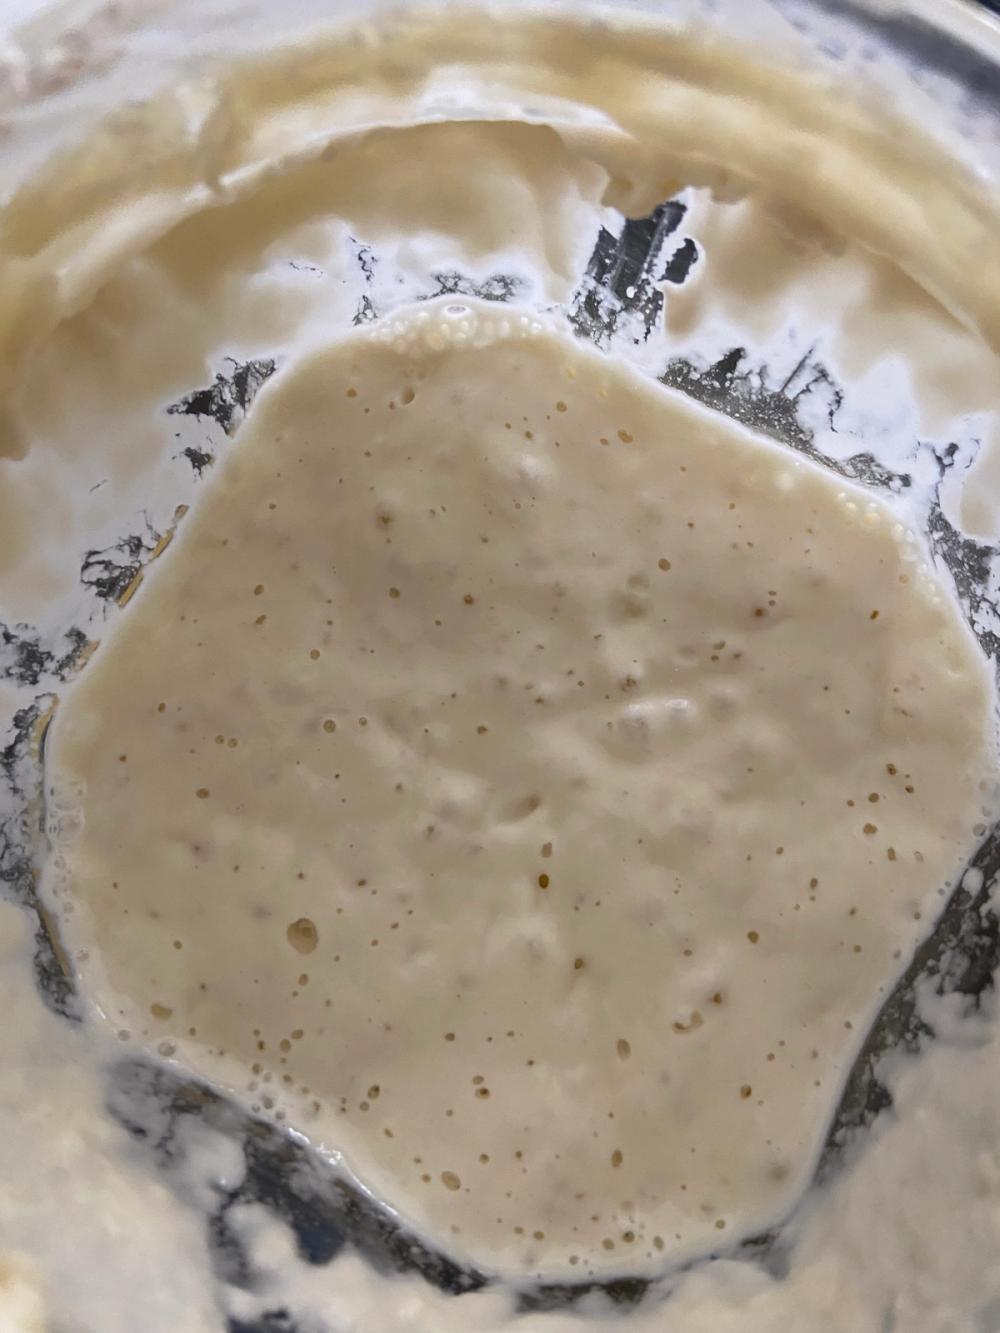
But let's learn, in a simple and practical way, how to make our own flour-and-water starter.
The process takes about 7 days on average, but it can take longer — mine took 14.
That happens because it depends on a number of factors like room temperature, climate, and flour quality — but it's not a dealbreaker, just be patient.
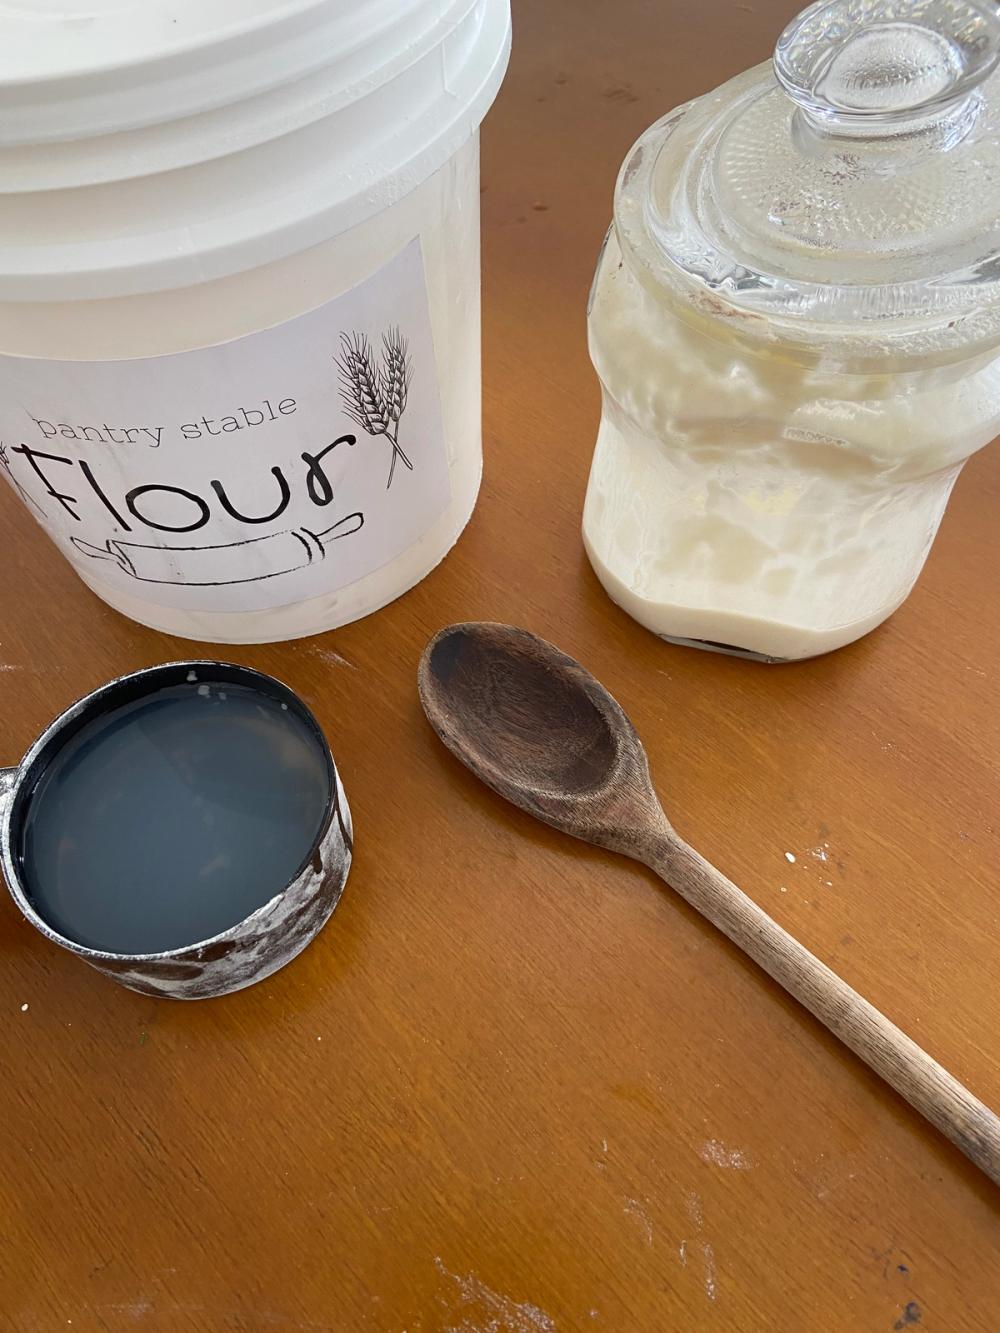
Why discard half? Why throw the starter away?
That's only necessary during the starter's creation period, because the bacteria aren't strong enough yet and the starter isn't ready to use in a recipe. If you didn't discard some, by the end of the process you'd end up with far more than anyone could use.
Once the starter is ready and developed enough to use (after about 1-2 weeks), you no longer need to discard any.
Ingredients
- 1 glass jar with lid
- 1 wooden spoon
- A 1-cup measuring cup
- Filtered water
- Two rubber bands
- If the jar has no lid, a piece of cotton cloth or plastic bag
Method
- 1
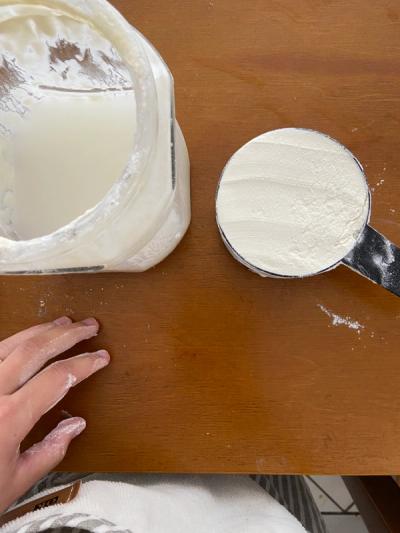
On day 1, add 1 cup of flour and 1 cup of water to the jar. Mix well and cover loosely. Place a rubber band around the jar at the level of the mixture (this will show you later if it has risen). Leave it on the kitchen counter or in a corner. On day 2 (24h later) discard half of what's in the jar and repeat the same process as the day before.
- 2
On days 3, 4, and 5 repeat the same thing. Every 24 hours, discard half of the jar's contents, add 1 cup of water and 1 cup of flour, and mix. Important: Don't stir in any liquid that forms on top — discard it as is, and only mix after discarding, when you add the flour and water.
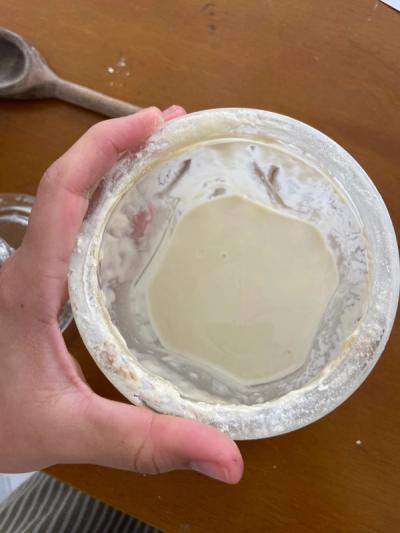
- 3
On days 6 and 7 we repeat the same thing, but every 12 hours.
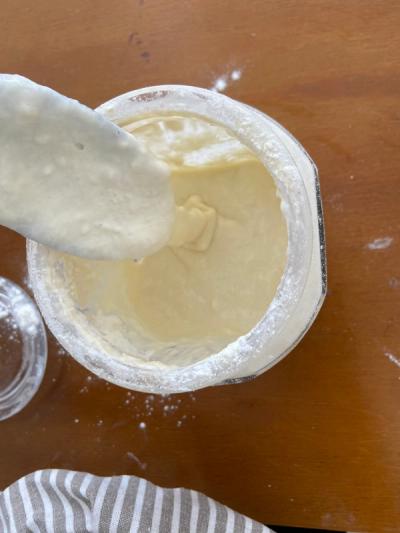
- 4
The starter is ready when it's bubbling, full of air bubbles, and has doubled in volume since the last rubber-band mark. Even though it's ready, it's still not mature enough for a recipe. It can be used, but you'll notice that an older starter, fed for longer, gives better results than a fresh one whose bacteria aren't as strong yet.
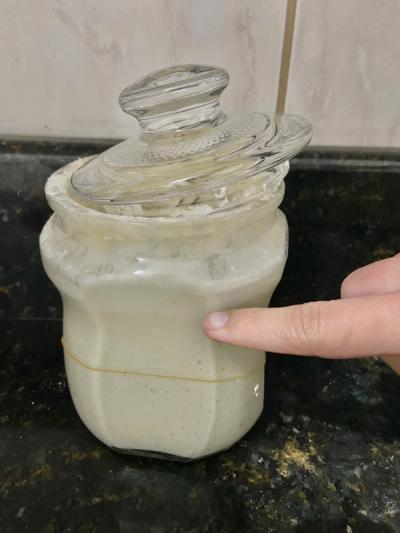
- 5
If you're not sure your starter is ready and worked out, do the float test: take a tablespoon of the starter and drop it into a glass half full of water. If it floats, it's active and bubbly enough. If it sinks, it needs more feeding, or it might be too thin/watery — you can fix that by adding more flour.
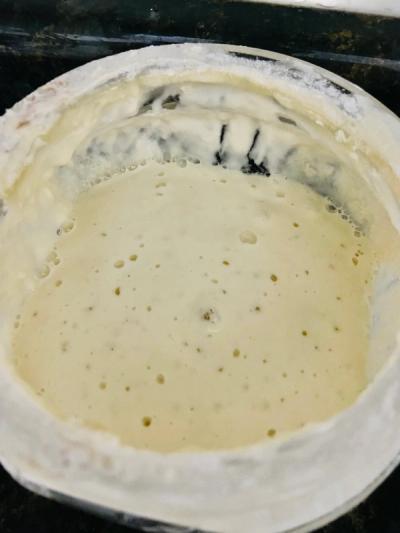
- 6
Important notes: • On day 2, there will be a bacterial "bloom" and the starter will grow a lot. That only happens again once it's ready. Until then it may look like nothing is happening; DO NOT throw it out thinking it failed, or stop feeding it thinking it failed. Be patient and follow the steps. • You'll notice a strong, sour, acidic smell — it is NOT spoiled. That's normal; it's part of the fermentation process. • If you're not going to use the starter right after it's ready, store it in the fridge and feed it once a week, or once before each use. • If you keep it on the counter at room temperature, it needs feeding every day; I only recommend this if you bake with it daily.